Open DBeaver and click on the New database connection icon in the top-left corner.
DBeaver
Overview
This guide explains how to connect to an AGENT SQL Server using DBeaver, a popular SQL client that supports JDBC connections.
Requirements
1
Get the DBeaver community edition for your operating system from the official DBeaver website
2
Your AGENT API key, available in the AGENT UI within your profile.
3
The Console URL of your AGENT server, available in the AGENT UI under the Configuration tab.
4
The AGENT SQL Client Driver, available to download in the AGENT UI under the Configuration tab.
Steps to connect
1
2
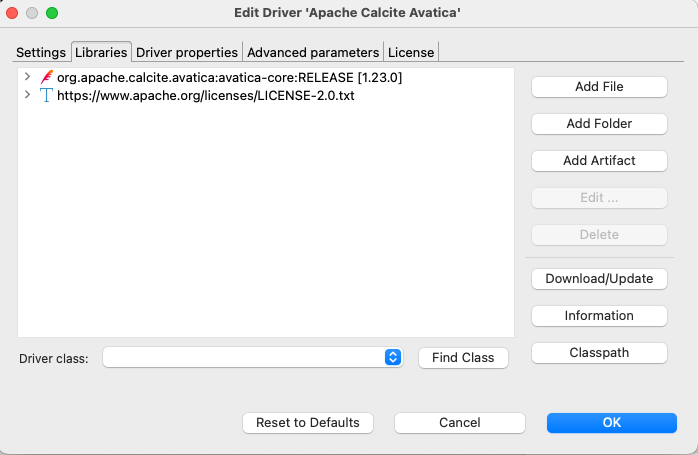
Select Apache Calcite Avatica and click Next. Click on Driver Settings then select the Libraries tab.

3
If you see any driver or licence files here, then select and delete them one by one. We will be installing the AGENT SQL Client Driver in a moment.
4
Click on Add File and select the AGENT SQL Client Driver jar file. The Libraries tab should now look similar to the one below:
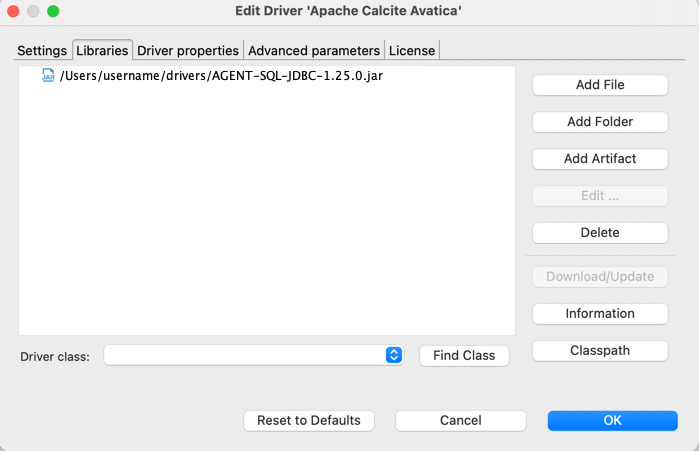
5
Click OK
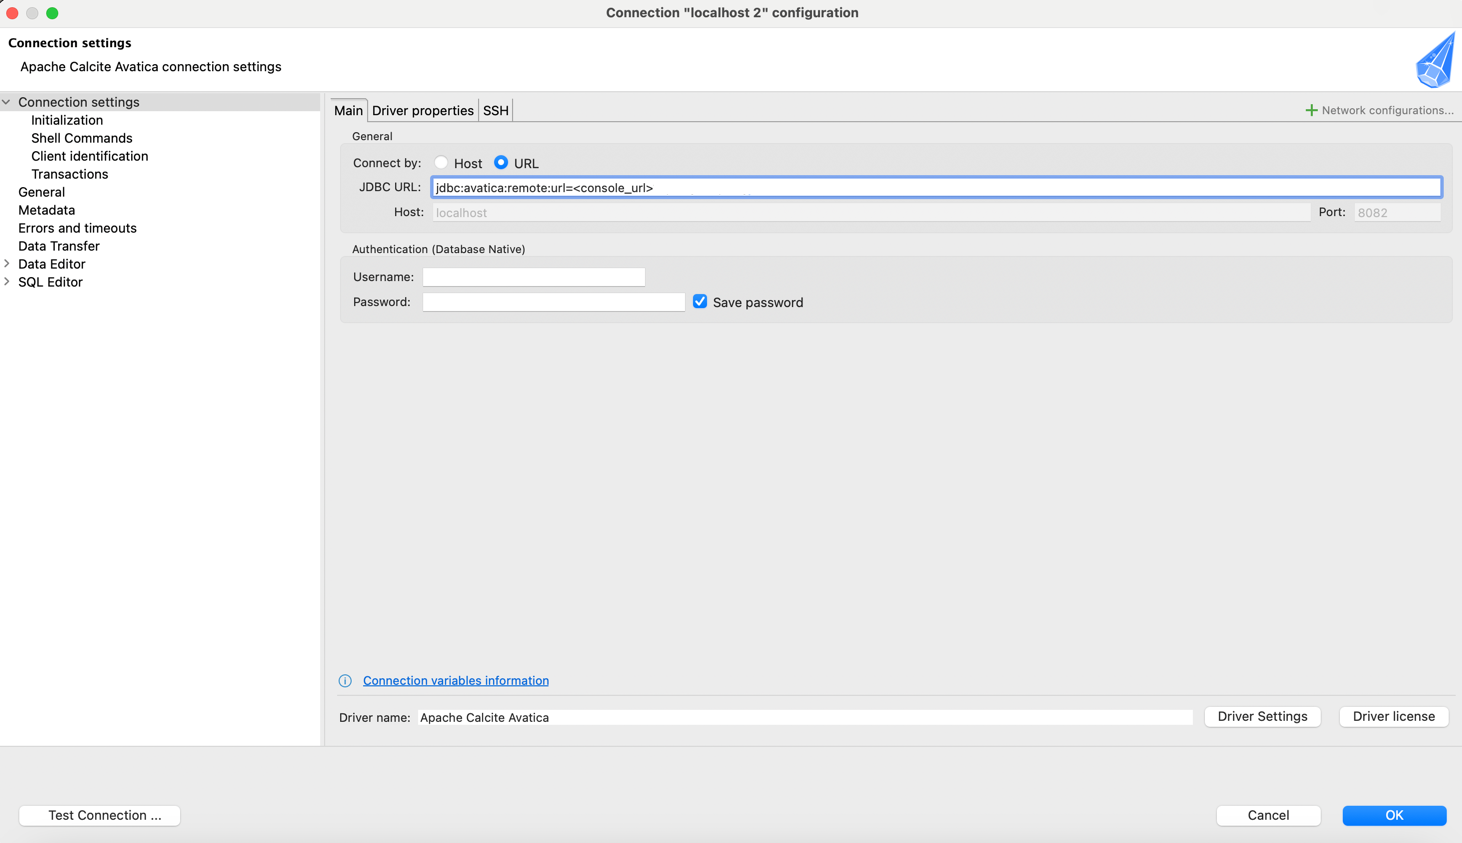
6
On the following screen, next to Connect by, choose the URL option and enter your JDBC connection string in the JDBC URL box. Leave username and password blank as we will be using an API key for authentication.
7
Select the Driver properties tab then click the '+' icon, bottom-left, to add a new User Property with the name
apiKey (please note exact capitalisation). If required, add some other parameters like epsilon and delta. Click OK, then select the blank space to the right-hand side of apiKey then paste your AGENT API key. The property should then look like this: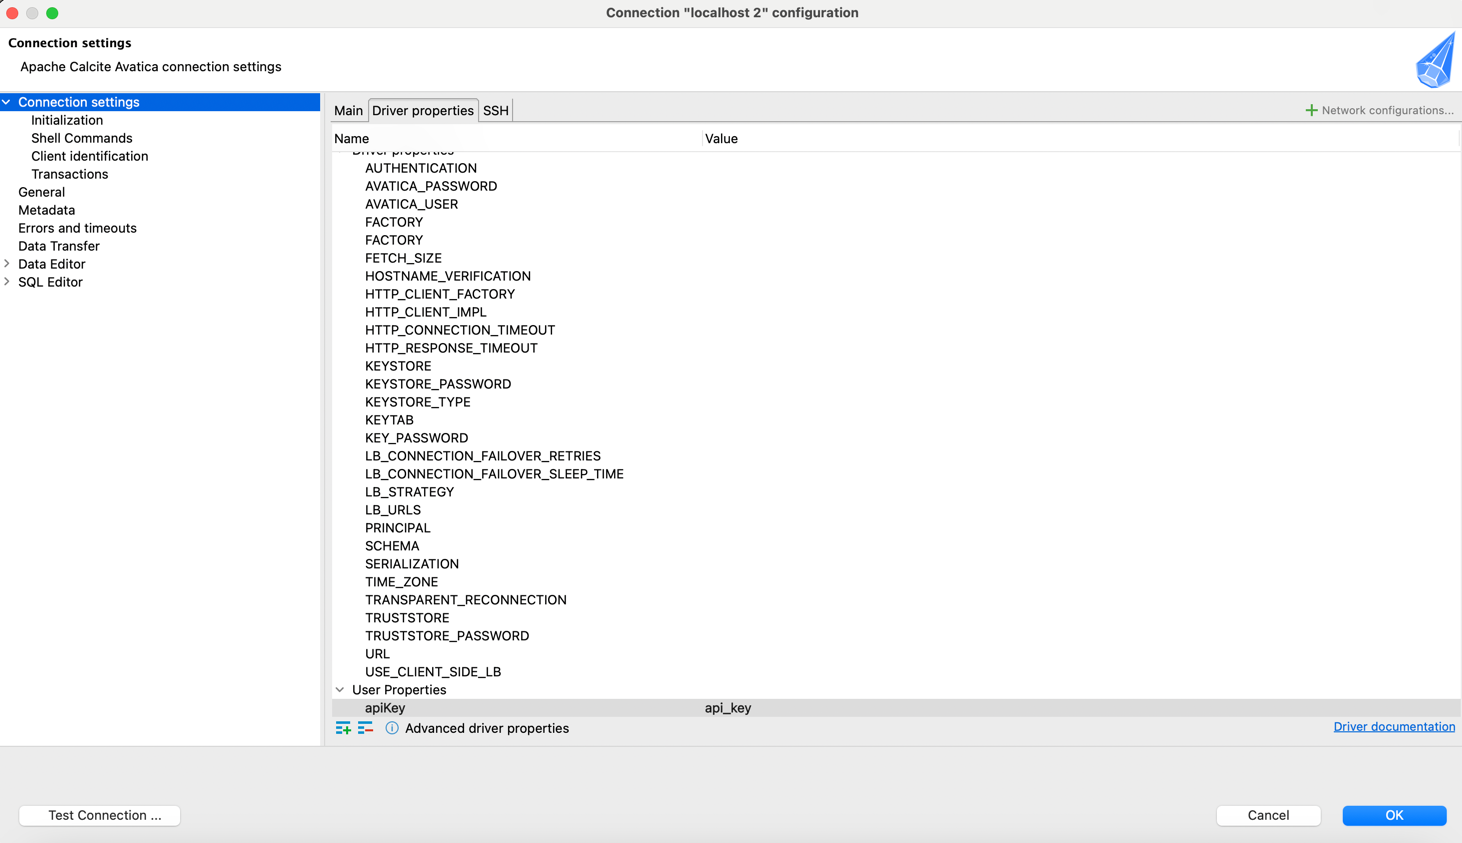
Note
An apiKey=xxx URL parameter present in the JDBC URL would take precedence over the apiKey parameter given here.
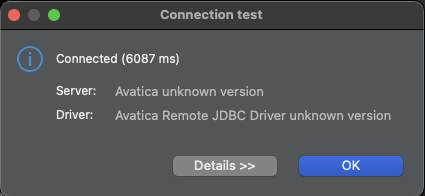
- Click Test Connection ..., bottom-left. You will now need to go to AGENT to authorise the connection.
- Back in DBeaver, you should now see a popup with "Connected (xxx ms)" if the connection is successful:
8
Click Finish.
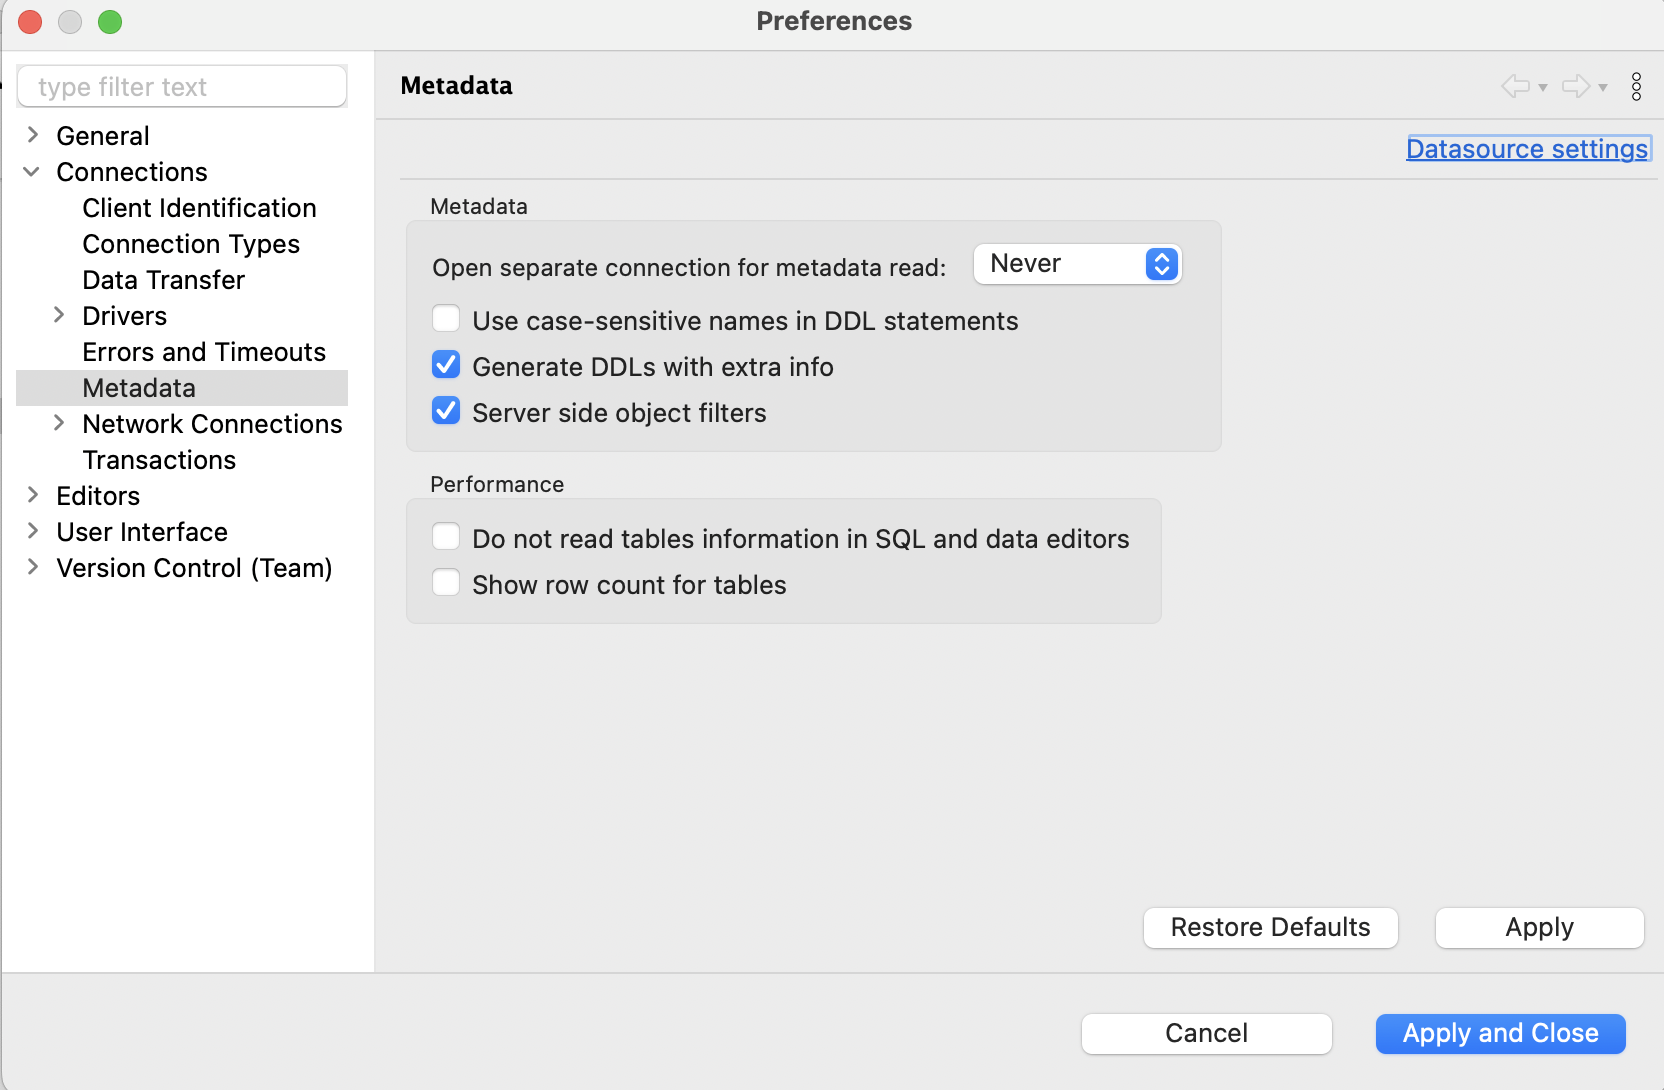
9
On the left, select Metadata. Ensure Open separate connection for metadata read is set to Never . This is to ensure that DBeaver doesn't open multiple connections.
10
At any point, if you don't see the Preferences panel, select the Database Navigator icon on the left-hand side (hover your mouse over the icons to see their names) or go to the Window menu -> Database Navigator. Right-click the newly created Avatica connection and select Edit connection.
11
Click OK. It may ask if you wish to reconnect. If so, agree and you will receive another token approval in AGENT. Approve this to connect to the server
12
Now you can use the SQL Editor to write and execute queries as normal.
Things to note
Subsequent token requests received within 1 minute from the same device would be auto-approved after connection security checks. If connection initiation or query execution is taking longer than expected, check the AGENT UI to see if there are any new token requests that require approval.
Warning!
The session expires after 25 minutes of inactivity. You will need to click on Reconnect or restart DBeaver after you get a NoSuchConnection Error. Once reconnected, remember to look in AGENT for an authorisation request.